

Soft light. Clean hands. A moment just for you.
Pour a glass of wine, light your favourite Frankie & Co candle, and settle in.
This is your moment - a little ritual of care, just for you.
Before You Begin
A little care makes all the difference…

Creating a lasting finish starts with a clean, well-prepared base. These simple steps help your wraps stay secure and look beautiful for longer.
1. Wash your hands thoroughly with soap and water. Dry well.
2. Gently push back your cuticles and file your nails to desired shape.
3. Optional but recommended: Lightly buff the surface of your nails. This can help your wraps adhere more strongly, but it isn’t essential.
4. Clean your nails with an alcohol wipe or nail polish remover to remove any oils.
5. Ensure your nails are completely dry before starting.
Tip: Work away from direct sunlight or windows—exposure to UV light can begin curing the wraps prematurely.
HOW TO APPLY

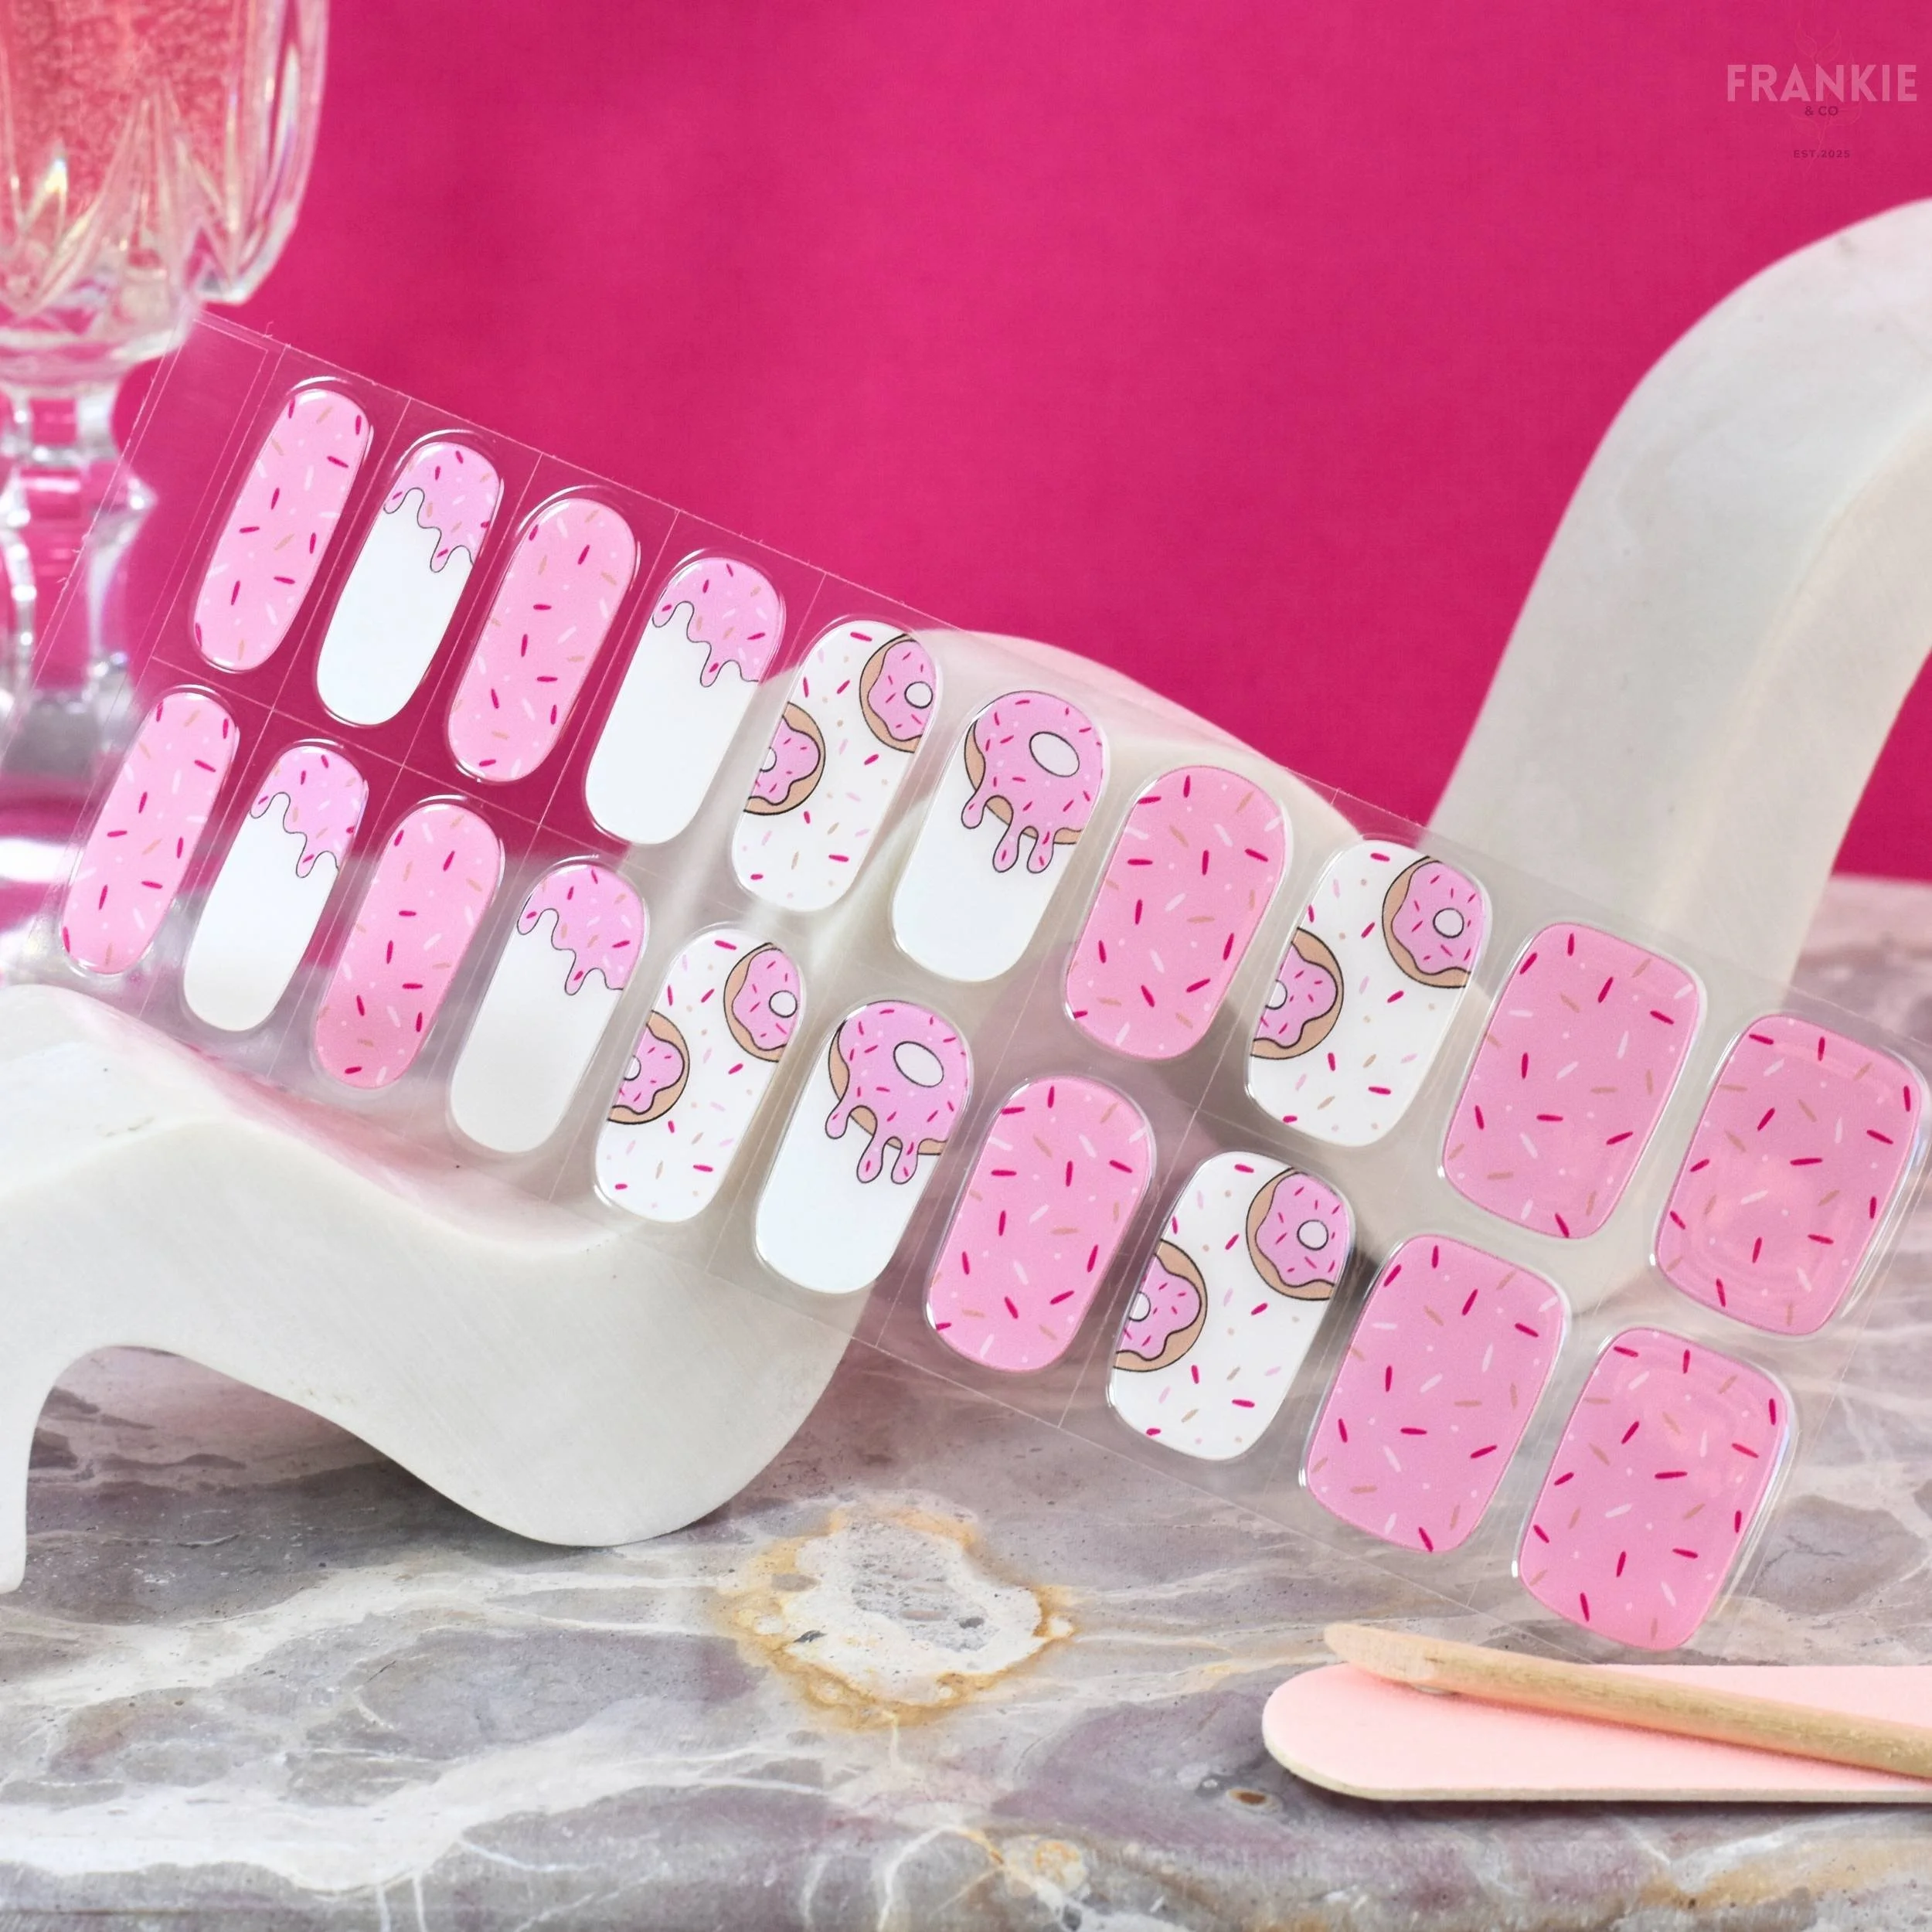
Shape. Seal. Shine.
Our wraps are soft and flexible, designed to suit all nail shapes. Follow these steps for a clean, lasting finish.
1. Choose your size
Each wrap is double-ended, so you can choose the side that best fits your nail. Select a size that sits comfortably inside the nail edge—without touching the cuticle or skin.
2. Peel and place
Remove the clear protective film, then peel the wrap from the backing using your finger or the wooden cuticle stick. Position it just above your cuticle, then gently smooth it over your nail.
Tip: If needed, gently stretch the wrap to better match your nail shape. Press from the base upward, smoothing out any bubbles.
3. Seal the edges
Use a wooden cuticle stick to press down firmly around the edges and sides—this helps prevent lifting and keeps the wrap sealed in place.
4. Trim and shape
Trim excess wrap with scissors - if your nails are short, you may be able to save the other half of the wrap to reuse next time or on your toes. Roll over the entire nail with the wooden cuticle stick before filing gently in a downwards direction to remove excess and smooth the edge.
5. Cure under UV/LED light
Cure under your nail lamp for at least 60 seconds, though 120 seconds is recommended for a firmer, longer-lasting finish. If wraps still feel flexible after curing, return them to the lamp for an additional 60 seconds until fully set.
Semi-cured gel wraps should feel firm once cured, but they may retain a small amount of flexibility. This is normal and helps the wraps move with your natural nails. If wraps feel soft, dent easily, or lift at the edges, additional curing is recommended.
6. Add a top coat (Optional)
For added gloss and wear time, you can apply a clear gel top coat and cure again.
Wear time can vary by design, finish and individual nail chemistry.
Tip: Avoid contact with water for 1–2 hours after application to allow your wraps to fully set.
Removal
Kind to your natural nails…
Our wraps are designed to come off gently, without harsh chemicals or soaking. Just a little Cuticle Oil and patience go a long way.
1. Gently lift one edge of the wrap with a wooden cuticle stick.
2. Apply Nourishing Cuticle Oil around the nail and onto your cuticle stick, slowly working it under the wrap to release the adhesive. (Use coconut oil as an alternative)
3. Continue easing the wrap off bit by bit. Take your time and reapply oil as needed - there’s no need to rush.
4. Once removed, wipe away any residue with an alcohol wipe or cotton round.
5. Wash your hands and moisturise with your Frankie & Co nail oil or balm.
Tip: Avoid pulling the wrap straight up or off dry—this can damage your natural nail.
A Final Touch
You’ve just made a little time for yourself—and it shows.
We’d love to see how your Frankie wraps turned out. Share your finished look with us @frankieandcoperth

Hydration meets versatility—naturally.
Say hello to your new self-care staple. Our Nourishing Cuticle Oil is a luxe, nut-free blend of jojoba, apricot kernel, argan oil, and vitamin E—crafted to deeply hydrate dry cuticles, strengthen nails, and promote healthy growth without leaving a greasy residue. Lightly scented with calming lavender and refreshing tea tree, it’s the little moment of care your hands will thank you for.
But this oil does more than just moisturise.
Designed to work hand-in-hand with Frankie Wraps, it doubles as the ideal removal companion. Brushing around the wraps helps to gently lift them from the nail bed while conditioning at the same time—no harsh acetone needed & no nail damage.
Why you’ll love it:
• Nut-free, Vegan and suitable for sensitive skin
• Non-greasy, fast-absorbing formula
• Packed with vitamins, essential fatty acids & antioxidants
• Naturally scented with pure essential oils
• A dual-purpose must-have: daily nourishment + gentle wrap removal
• Handmade in small batches in Darlington, WA
How to use:
Massage a small amount into the cuticle area daily, especially after handwashing or Frankie Wrap removal. To remove Frankie Wraps, apply a few drops around the edges, use a wooden cuticle stick and then gently wedge between the wrap and the nail. Repeat the process applying the Nourishing Cuticle Oil and using the wooden cuticle remover till the wrap comes away from the nail.